Contents
Render Module
The render module provides a simple, straightforward way to quickly create rendered work of FreeCAD parts. Its philosophy is based on a template system so you can view your work more efficiently. The Render Module intends to hide the complicated Render Process from the user, so you can worry about designing parts.
The render module is designed to work with multiple render back ends, but currently only LuxRender is supported. The workflow as follows:
- Create a Render Feature.
- Select your desired presets and templates.
- Assign materials to visible parts within your document.
- Position your camera
- Preview the render
A brief explanation of the parts in the Render Module:
Render Feature
The Render Feature contains the information that will be passed to the Render such as camera and render settings, and materials and also what render plugin to use. This means you can create many different features with different materials, camera settings that are independent from each other. The feature also takes control over the rendering process.
Render Material
Each Render Material is based on a Library Material which are stored in separate .XML files. These Render Materials can be assigned properties such as colour or shininess and other parameters. These materials are then attached to an object in the your document.
Using the Render Module:
First checkout the following repository raytracing and checkout the 'render' branch. Then ensure you can build this.
Download or install the latest 1.2.1 Lux Render for your system from download and ensure this runs correctly.
Open FreeCAD and start the Raytracing workbench. You must next set the 'Executable Path' for Lux Render. This can be set in Edit->Preferences->Raytracing. This must be set to the path of the luxconsole executable.
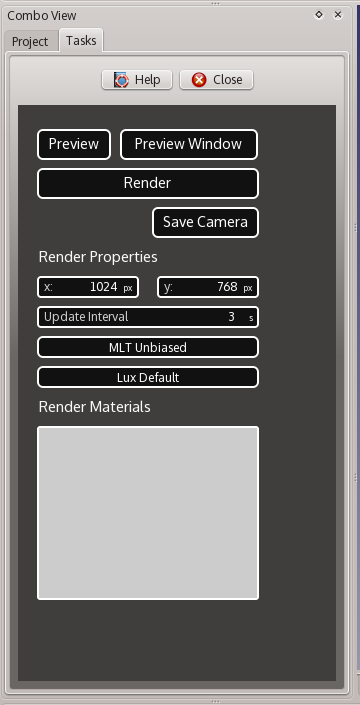
Create your part(s) within FreeCAD. Then return to Raytracing workbench and create a 'Render Feature'. Editing this feature a new Task View will appear:
When you create a Render Feature it will store the current position and type of Camera used in your 3D window. You can freely reposition this and click 'Save Camera' to store the current state of the camera into the feature.
You can set other render settings:
Render Preset
Render Presets are specific to the render plugin that are used. They change the render process to improve the quality of the output or it the speed that the output is generated. With Lux Render, 'MLT Unbiased' produces good quality results in reasonable time. 'Direct Lighting Preview' produces a fast but low quality result.
Render Template
Render Templates are currently specific to the render plugin. By selecting a template, it will generate a preset scene such as lighting, geometry with your parts inside it. Currently 'Lux Classic' correctly works and produces satisfactory results. It will attempt to calculate the scene based on your camera position and the overall size of visible parts.
Start a Render
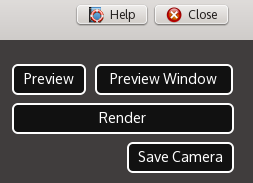
Once the feature's settings have been set. You can render the scene. For example this is the example scene. Any parts that are not visible in the document will not be included in the Render.
The 'Preview Window' button will render the current view of the 3D window. The 'Preview' button will use the saved camera position and also the size of the output. Only one preview can be run at a time per feature, but you may run several render feature render processes.
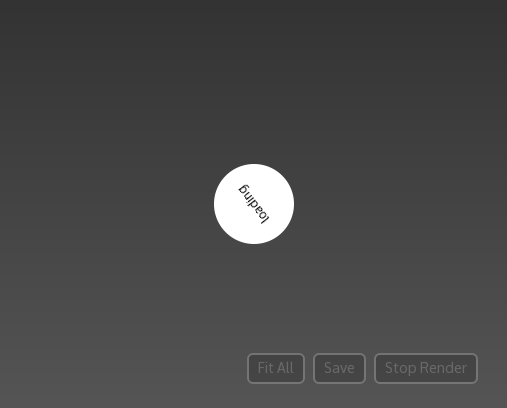
After starting a render. A new preview view will appear. Depending on the complexity of your scene, this may take a few seconds to be created whilst exported and loaded by the external render program. A loading screen will appear.
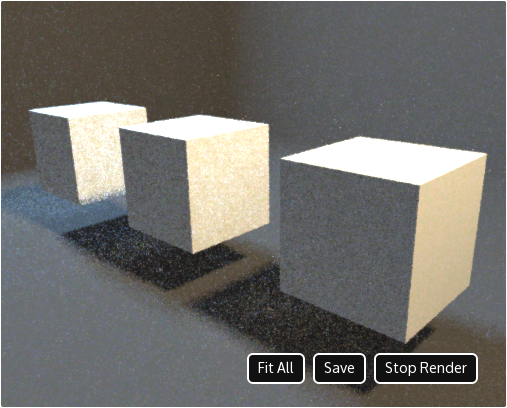
If the render process is successful, the output will be automatically shown. You can freely move the image and zoom in and out.
Unbiased Rendering
Essentially the render program will simulate light rays 'bouncing' through a scene. When this light hits a camera it will be visible in the output. Over time more rays hit the camera and an image builds up. At the beginning the image will look noisy where light hasn't reach the camera.
When you are happy with the output, press 'Stop Render'. You may now save the output to a desired location (currently stored in a .png format)
Render Speed
The render process are typically run on the CPU. The time taken for a satisfactory result, depends on the size of the output, the scene, the number and complexity of materials used, the lights and overall system performance. A quick preview for a simple part can take one minute, whilst a high quality output can taken several hours.
Attaching Materials
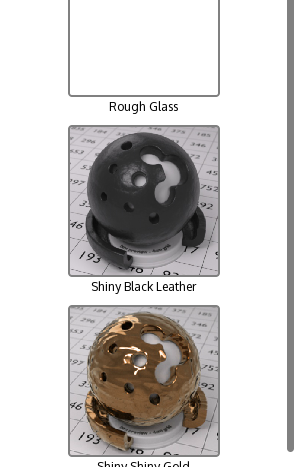
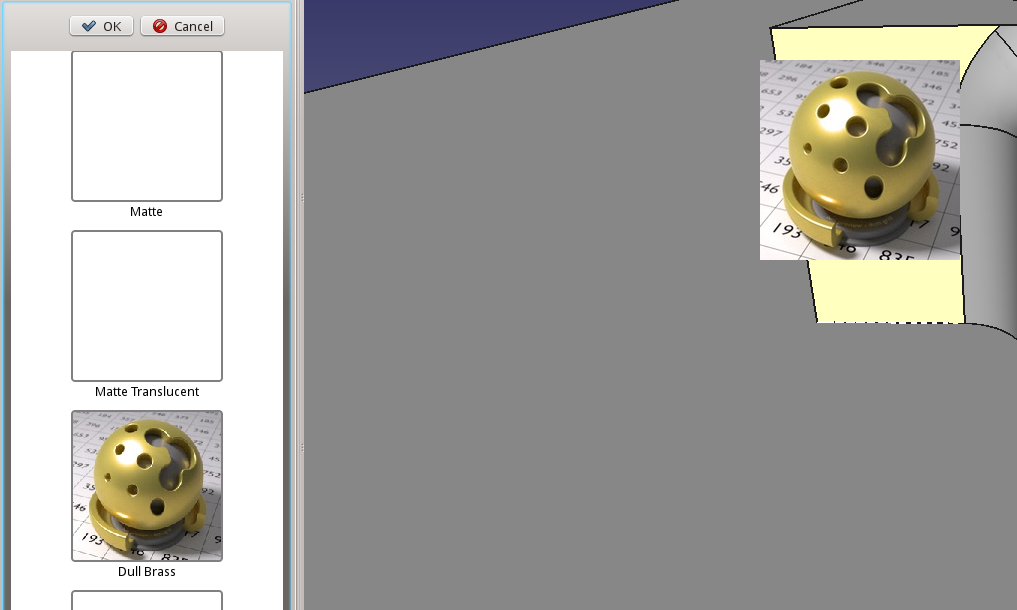
Ensure you are currently in edit mode for the Render feature. Click the Add materials in the tool bar. A list of library materials will be shown in the task view.You can scroll through these by dragging the list or using the mousewheel
To attach a material to a part in your document. Drag the material icon and drop it onto an part in the 3D view.
If the material has editable properties such as colour, a new dialog will appear in the task view. Otherwise the task view return to the Render Feature view.
When you're happy setting the properties, click 'Save'.
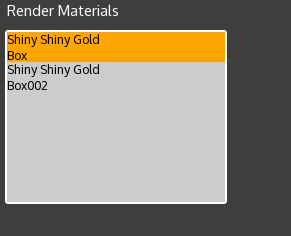
All materials inside a render feature are displayed in the list view. These can be selected and deleted or if the material has a property it can be edited by double clicking this.
Links
See also Raytracing tutorial

